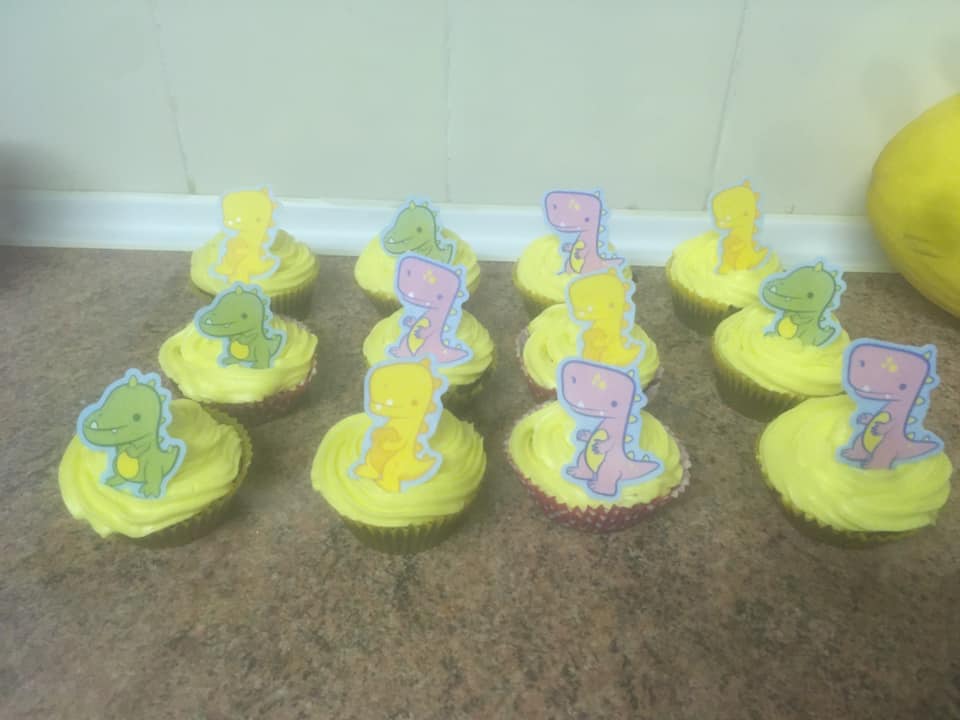
So using the chocolate cupcake recipe (on this blog), with some bright yellow vanilla buttercream and some rice paper dinosaurs we made these for the school cake sale…
I like to know my boy is not missing out, so if I can make some cakes every Thursday for him to buy on Friday that makes both me and him very happy!!!
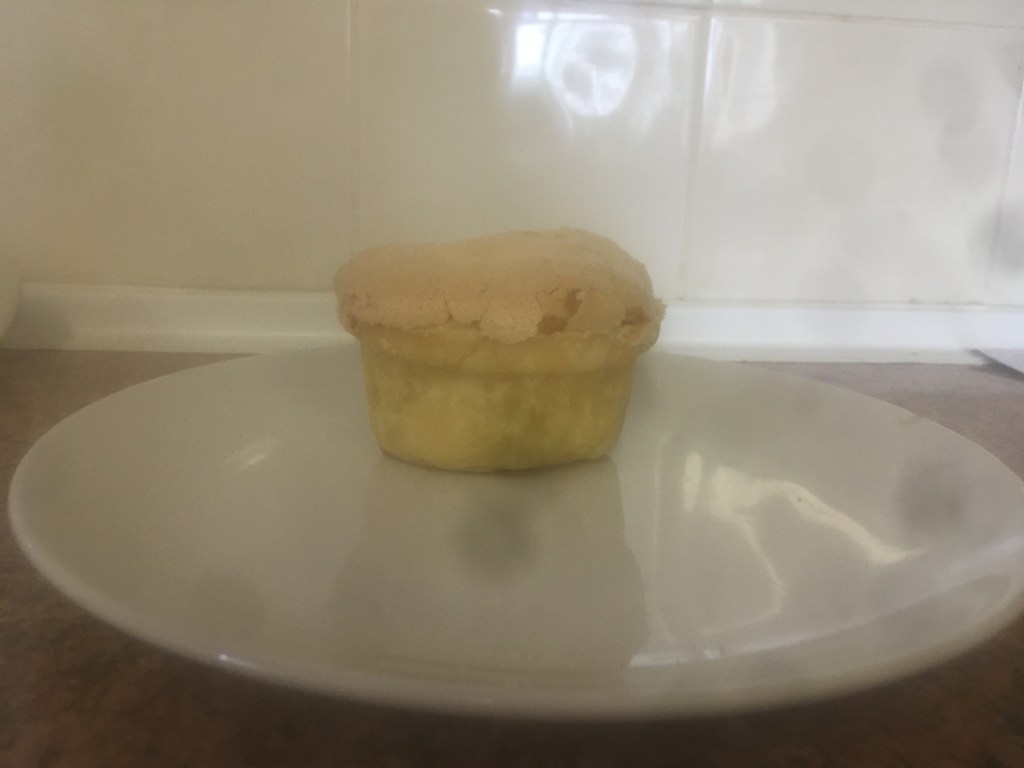
This was delicious, we had a slight problem with meringue, because the electric whisk stopped working…
Again picture quality awful, due to sand in my camera lens…
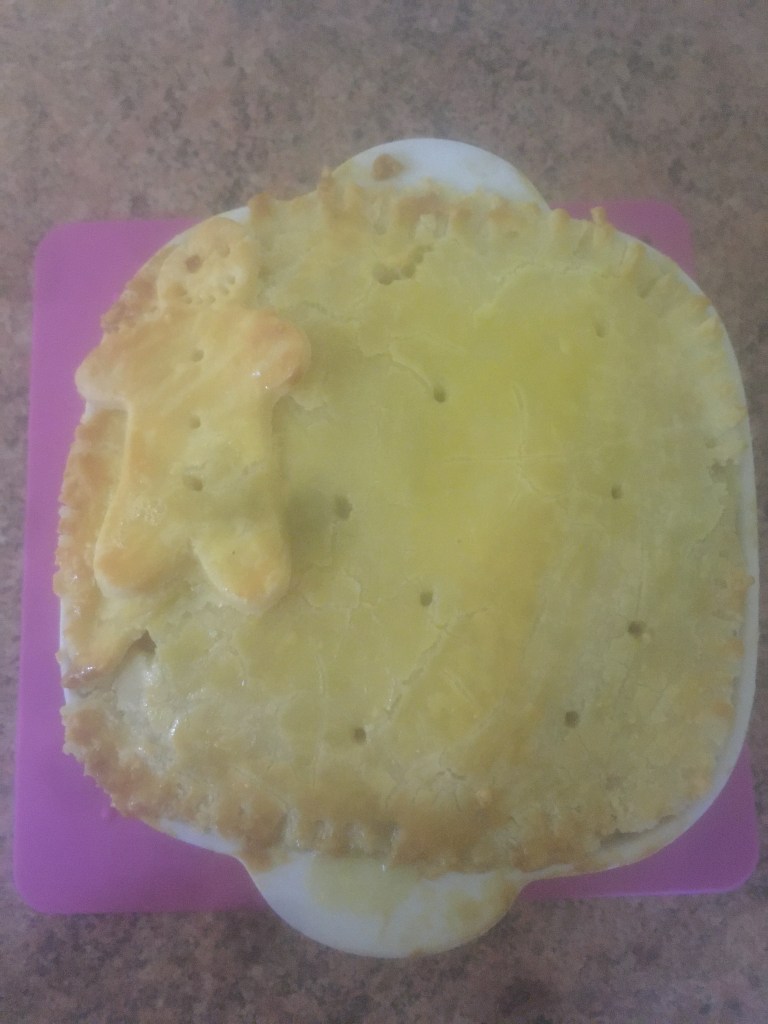
This uses the double the pastry recipe from a few weeks ago on the blog (for a bigger pie).
Ingredients
For the lemon curd
2 level tbsp cornflour
100g caster sugar
finely grated zest of 2 lemons
125ml fresh lemon juice (from 2 – 3 lemons)
juice 1 small orange
85g dairy free butter (I used stork)
3 egg yolks and 1 whole egg
For the meringue
4 egg whites at room temperature
200g caster sugar (golden if you have it)
2 level tsp cornflour
Method
Preheat oven to 180C
Line pie tin with pastry, use a fork to prick the bottom, cover with foil and put baking beans on top, cook for 15 minutes. Take the baking beans out and the foil off and cook for another 6 minutes. Set aside. Turn the oven down to 160C.
Put the cornflour, caster sugar and zest in a pan over a medium heat, slowly add in all of the lemon juice (strain it).
Make the juice of the orange up to 200ml with water and strain into the pan.
Cook over a medium heat, stirring constantly until thick and smooth. Once the mixture bubbles remove from the hear and beat in the butter until melted.
Beat the 3 egg whites and whole egg together, stir into the pan and return to medium heat. Keep stirring until the mixture thickens and plops from the spoon (be careful not to scramble the egg). Take off the heat and set aside.
Making the meringue, put the egg whites in the bowl and whisk until soft peaks form, then add the caster sugar a spoonful at the time continue whisking , when you have added half the sugar, add the cornflour, then add the remaining caster sugar a spoonful at a time (the mixture should me smooth and thick).
Reheat the lemon curd filling and place in the pastry case, then add the meringue mixture on top, starting from the outside and spread it so it just touches the pastry and anchors it.
Pile the rest in the middle spreading so that it touches the surface of the hot filling (and begins to cook), then give it a swirl to get a nice pattern on top.
Return to the oven for 18 – 20 minutes. Take out of the oven, let the pie sit in the tin for 30 minutes and then let it cool for an hour before slicing.
Please excuse picture quality – phone camera has sand in it!
So my little boy has never had any sort of pie, but we struck gold with a pastry recipe that worked last time, so I thought about what I could do with it and here goes…
Ingredients
This will make a small pie (easily enough for 2 children). Use double the pastry recipe (on this blog)
A dash of Olive oil
100g chicken
1/2 leek
25g halved and peeled mushrooms
100g carrot
50g frozen peas
100ml chicken stock
1/2tbsp cornflour (mixed to a paste with a little water)
1 egg
Method
Put oil in pan and cook chicken, once cooked add in chopped leek and mushrooms cook until leek soft and mushrooms cooked through.
Add in chopped carrots and frozen peas, give it a stir add in chicken stock.
When carrots cooked through add in cornflour paste to thicken the gravy up (when at correct consistency take it off of heat and allow to cook).
Preheat the oven to 180C.
Take pastry out of fridge and flour work surface, roll to 2mm thickness, then place over pie dish and carefully press into the tin.
Put the chicken mixture into the pie dish (ensure the chicken mixture is cool otherwise it melts the fat out of the pastry and gives a soggy bottom).
Use the remaining pastry to make a lid for the pie, by rolling it out again, before placing it over the top, brush water around the edge of the pastry in pie dish, then place the lid on top and press together with a fork.
Use remaining pastry to make decoration if you would like to or to create a dessert (like I tried), egg wash the pie and ensure to put holes in the top to let the steam out.
Bake in the oven for 25 minutes or until the pastry is golden.
I also made a lemon meringue pie, I had an issue with meringue (it was edible) as my electric whisk decided to pack up and we couldn’t whisk it enough, my son also hated the lemon (although everyone else liked it!) recipe to follow soon…
So watching Junior Bake off last night inspired me to try something I’ve never tried before ‘free from.’
R decided he wanted dinosaurs in the middle, but in hindsight I think they were a little two small and fiddly!
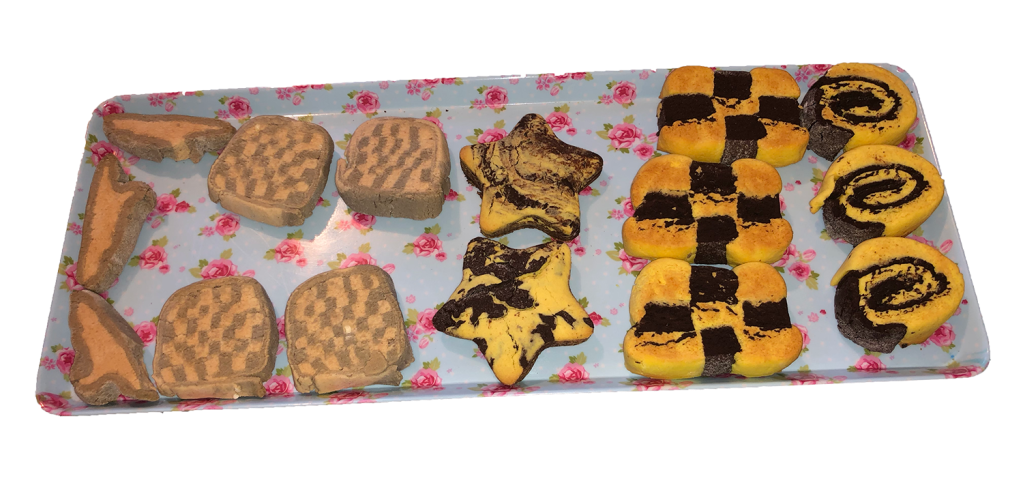
I made all of these biscuits today, just trying different things out, I love the checkerboard ones and the swirls. I had a few issues with the recipes for the yellow and black ones. The brown and grey ones worked really well! So here’s the recipe…
Ingredients
50g dairy free butter (I use block stork)
75g caster sugar
1 egg
1 tsp vanilla extract
250g gluten free plain flour
1 tsp gluten free baking powder
1 tsp cinnamon
Method
Please note that my squares were not defined enough so I’m advising you to do less layers in this recipe.
Cream together the butter and sugar. Add the egg and vanilla extract and mix.
Sieve the flour, baking powder and cinnamon in and mix until dough forms.
Split the dough in half and add food colouring (I used black, I currently only have yellow and black ha ha).
Split both lots of dough in half again and lightly flour a work surface, roll one colour dough into a rectangle (about 1cm thick my 4cm wide), then roll the other colour dough into the same size and thickness rectangle, stack this on top of the first rectangle and continue with the other two lots alternating colours and stacking them on top.
Then get a sharp knife and cut down the length of the stack (about 1cm thick), you should get a rectangle with alternate coloured stripes (not the end so that you get squares). Lay this flat.
Do the same as step 5, but when laying the rectangle down flip it over so that you have two rows of checkerboard. Continue doing this step, flipping the rectangles so that the same colour only touches in the corner, until all the dough is used (you should end up with 4 rows and columns).
Wrap your checkerboard cuboid up and put it in the fridge for 30 minutes.
Preheat your oven to 180C.
Get your cuboid out of the fridge, get a sharp knife and cut square biscuits from the end about 5mm thick, pop these on a baking tray and bake in the oven for 10 to 15 minutes.
I used some of this dough to cut out dinosaur shapes and then wrapped it in the other colour to make ‘inside out’ biscuits. However the dinosaurs were too small and it was extremely fiddly, so if I ever do this again I will use a bigger shape.
I also tried a variety on the above biscuit I tried a honey flavoured biscuit, with 1tbsp of honey added to the mix (yellow) and I paired it with a chocolate flavour, where I substituted 1/4 of the flour for cocoa powder (black). However the honey dough was too soft and the chocolate biscuit was too ‘rigid’ which made attempting the checkerboard very difficult because they were different consistencies. I also cut the biscuits too thick which has made them like biscuits on the outside and cake in the middle.
Due to my trouble trying to do the checkerboard I attempted a swirl biscuit, which worked better but the chocolate dough was still too rigid, so I managed a few of those and then just mixed the doughs together to make the stars.
The idea of this blog is not that we are going to get perfect results each time, but to give some ideas and inspiration. I also know that my ‘finesse’ needs working on, but I’m still learning (yes even 5 years later)!
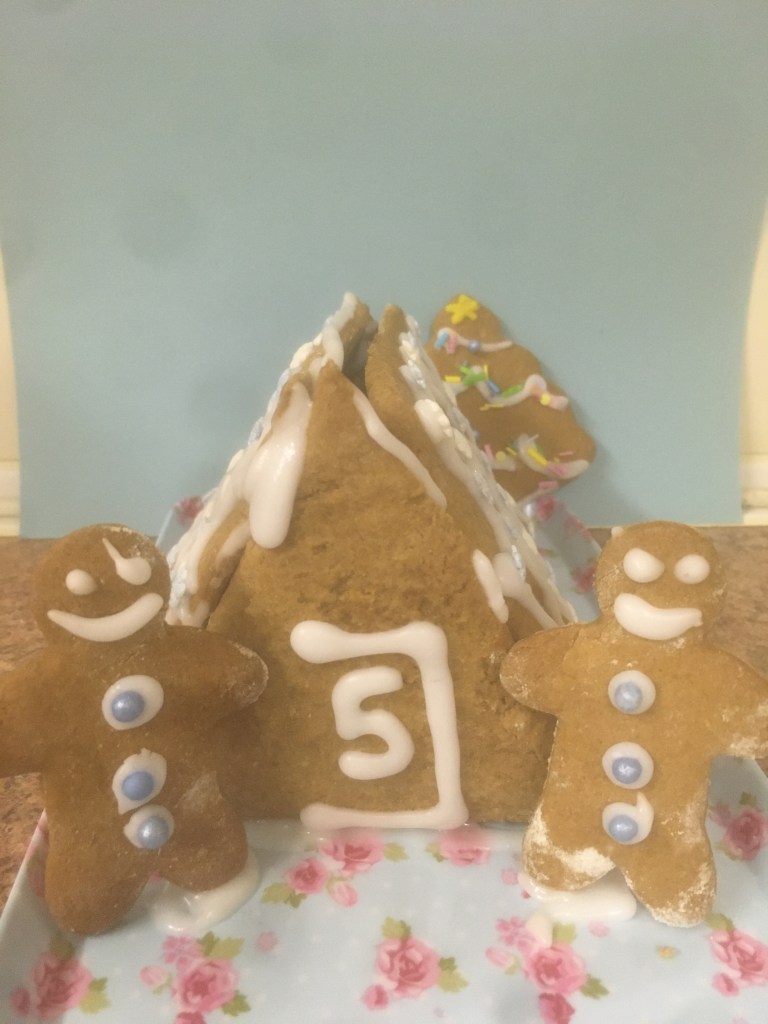
We have cracked it, we have found a gingerbread recipe which is easy to roll out and is still standing now!!
We used the recipe from the other day ‘gingerbread that you can actually roll out,’ we cut out a triangle, measured one side (not the bottom) and then made a roof using that measurement (height) and we made up the other length.
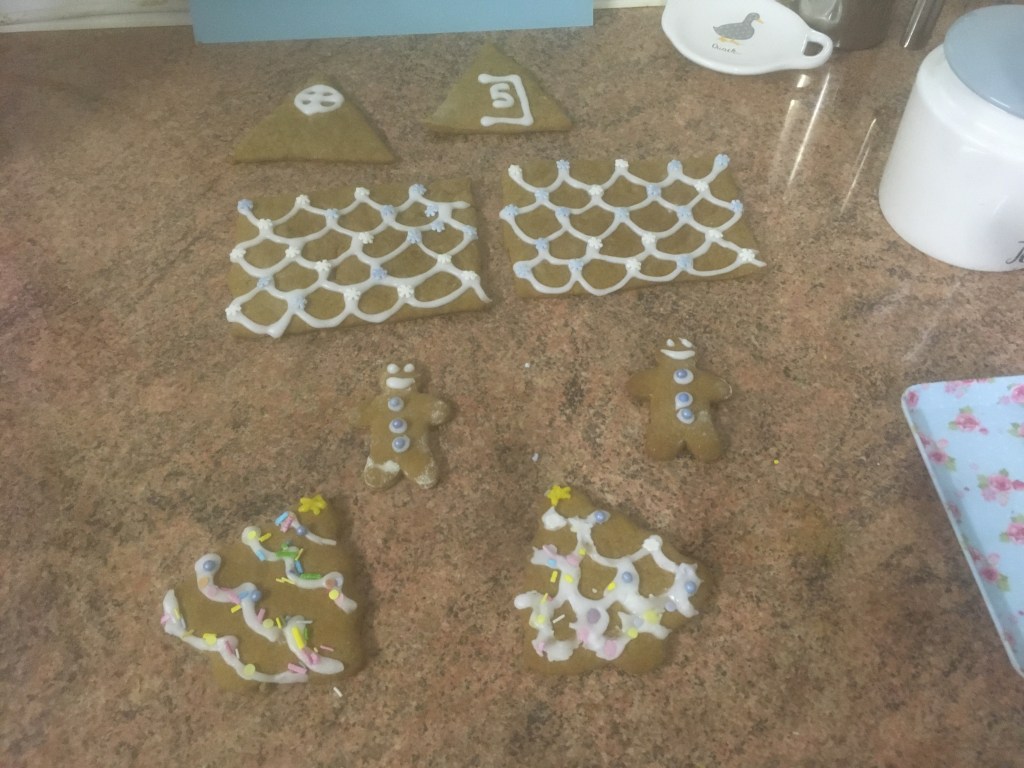
We then rolled our gingerbread out to about the thickness of a £1 coin, then we cut out two triangles and two rectangles, popped them in the oven for 15 minutes at 180C. We continued to use the rest of the gingerbread cutting out stars, trees and men (should get a woman really!) this dough makes quite a lot.
When the front and sides were baked and cooled, we then decorated them ( I say we, my son was directing!) Be aware that a lot of decorations i.e sprinkles have wheat and milk in them so be extra careful when you are checking them (we checked 10 today before finding the blue/ purple balls.)
We waited until the icing was dry and started construction!! I just used the same icing we used to pipe, but ideally we will need to find a stickier icing, so as to fill in the gap we had left. I also used a nesquik container to hold the structure to give one side time to dry. Then I removed the nesquik container and put the front and other side on.
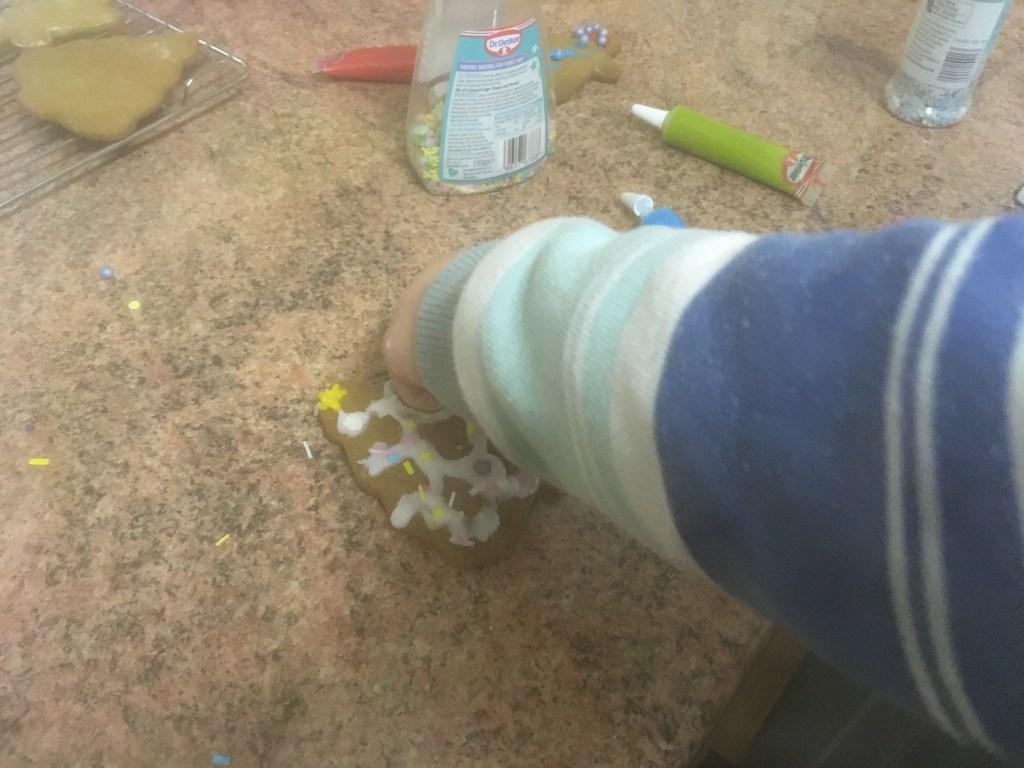
The best part of making gingerbread is that my little boy gets involved, he usually just decorates one for himself to eat though and then leaves me to the rest.
This was our prototype so that we are ready for Christmas, as with everything, just have fun!!
As a reminder of the recipe..
Ingredients
350g gluten free plain flour (plus extra for dusting work surface)
1 tsp xantham gum
2 tsp ground ginger
1 tsp ground cinnamon
1 tsp bicarbonate of soda (ensure this is gluten free)
100g dairy free butter (the tub stork contains milk, but we use the block stork)
175g dark soft brown sugar
4 tbsp golden syrup
1 egg
icing sugar
water
decorations
Method
Mix flour, xantham gum, spices, bicarbonate of soda in a bowl.
Add the butter in chunks and rub in, until the mixture resembles fine breadcrumbs (try and keep your hands cold – otherwise it becomes quite sticky). Add in the sugar and mix so that it is even throughout.
Add the golden syrup and egg and mix until the mixture starts to come together. Tip mixture out on to floured work surface and form the dough into a smooth ball.
Wrap in clingfilm and then chill for 30 minutes (this is usually when I clean up the kitchen or attend to something else I’m trying to bake at the same time – tempting as it might be do not take it out before.)
Take out of the fridge and roll out (make sure work surface has a lot of flour on it, it can stick quite easily and roll dough out to about the thickness of a £1 coin. Use a gingerbread man cutter and cut them out ( I put them straight onto a parchment lined baking sheet – the warmer they get the harder they are to move), then re-roll the dough until you have used it all up.
Heat the oven to 160C and bake them for approximately 15 minutes until nicely browned.
When cooked put them straight on to a wire cooling rack and allow to cool completely before moving them, they start off soft and as they cool they get harder.
When the biscuits have cooled completely, mix the icing sugar with enough water to make a fairly thick icing. We decorate them with gluten free sugar decorations as my little boy does not like sweets, but decorate how you please.
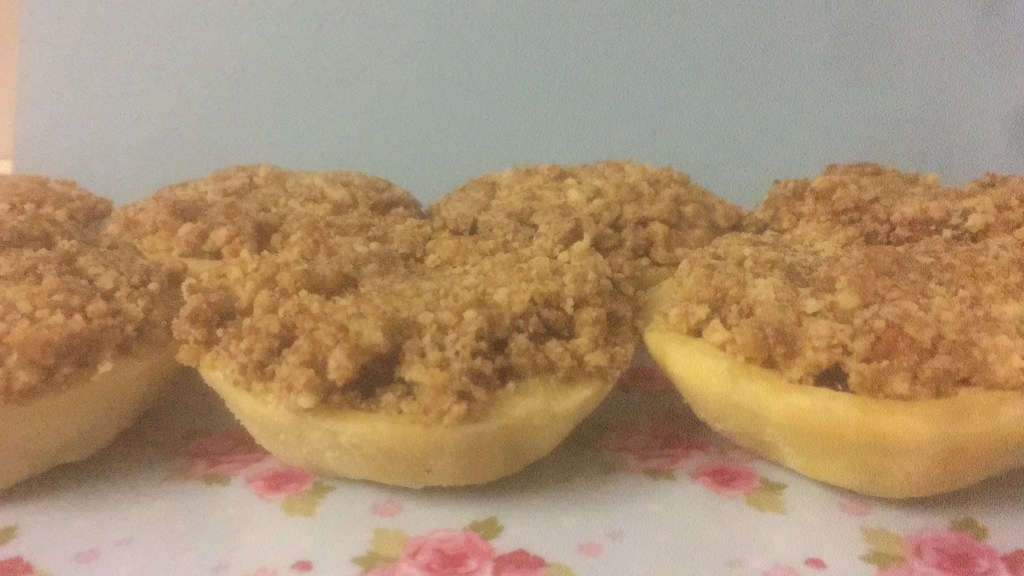
A bit of a random concoction today, but tasted a little like Christmas!!
Ingredients
In the order you will need them!
100g plain flour (gluten free)
50g block butter (dairy and soya free)
1 tsp xantham gum
pinch of salt
cold water
4 pink lady apples (peeled and cored and cut into chunks)
a handful of raisins
1 tbsp soft dark brown sugar
1/2 tsp cinnamon
1/4tsp nutmeg
1/4tsp ginger
1tbsp water
75g plain flour (gluten free)
1 tsp xantham gum
50g block butter (dairy soya free)
42g soft brown sugar
Method
For the pastry: Put 100g plain flour, 1tsp xantham gum and a pinch of salt in a bowl. Chop the 50g of block butter into chunks and rub in, ensure your hands are cold and do as little as possible to make it look like breadcrumbs (do not over do it, it will become sticky!) Slowly add in cold water until the pastry is formed, wrap in clingfilm and put in fridge for 30 minutes.
For the pie filling: Whilst the pastry is chilling, put the apple, raisins, sugar, cinnamon, nutmeg, ginger and water in a pan and stew over a low heat.
For the crumble topping: Put the 75g of plain flour and 1 tsp xantham gum in a bowl. Chop the 50g of butter into chunks and put in the flour mixture, coat with flour, ensure your hands are very cold and rub the butter in until it resembles breadcrumbs (do not over do it, it will become a sticky mess). Add the sugar in and use a fork to combine.
When the pastry has done its time chilling, roll out to about 2mm thick and cut out circle for the bottom of the pie, I managed to cut 9 circles out.
Put the pastry circles in the bun tin and add the stewed apple mixture into each one and press down. Then add some crumble topping on to the top of each pie and press down.
Pop in the oven on 180C for 20-25 minutes.
Then eat and enjoy!
I used double the amount of spices, but it tasted a little powdery so I have halved it here let me know whether you think it is a good change to the recipe!
50g block butter (dairy soya free – we use block stork)
1 tsp xantham gum
42g soft dark brown sugar
Method
Put flour and xantham gum in a bowl.
Cut butter into chunks, put in the bowl coat the butter in the flour, keep your hands cold and rub in, until it looks like breadcrumbs, but do not over do it, it will look like a sticky mess.
Using a fork mix soft brown sugar with breadcrumb mixture.
Put on top of fruit to make crumble.
Bake in oven for 20 minutes on 180C (although ensure your fruit is cooked through as well).
This will make a small amount enough for a small crumble, but if doing a bigger one double the mixture.
So many dishes have pastry and I have struggled to make decent pastry, but I finally made it today!! After a friend requested a recipe for pastry here goes…
Ingredients
100g plain flour (gluten free – we use Doves Farm)
50g block butter (dairy and soya free – we use block Stork)
1tsp xantham gum
pinch of salt
cold water
Method
Put flour, xantham gum and salt in a bowl. Cut the butter into small pieces and coat in flour. Always ensure your hands are as cold as possible and rub the butter in to get breadcrumbs, but try not to over do it or it will become a very sticky mess.
Slowly add in some cold water, but mix it with a fork to get it to come together (I used 8tsp of cold water).
When it is just together wrap it in clingfilm and pop it in the fridge for 30 minutes (it needs this time to chill).
Flour your work surface and rolling pin, it is a little sticky, and then roll to about 2mm.
Then shape and bake for about 20minutes on 180C.
This recipe made 9 circles for jam tarts, it you need more try doubling it.
70g block butter (dairy and soya free, we use stork)
2 medium eggs
112g golden caster sugar
60g plain flour (gluten free)
1tsp baking powder (gluten free)
half a tbsp cocoa powder (ensure dairy and soya free)
Plus extra chocolate chopped up (this depends how many chocolate pieces you want in it)
Method
Preheat oven to 180C.
Line an 8 inch square tin with baking parchment.
Melt chocolate and butter in a bowl over hot water and allow to cool.
Beat eggs and caster sugar together (use electric whisk, mine is broken and my arms have never hurt so much!) until pale, fluffy and almost double in volume.
Carefully fold in flour and cocoa powder, fold until combined (try not to knock air out of it).
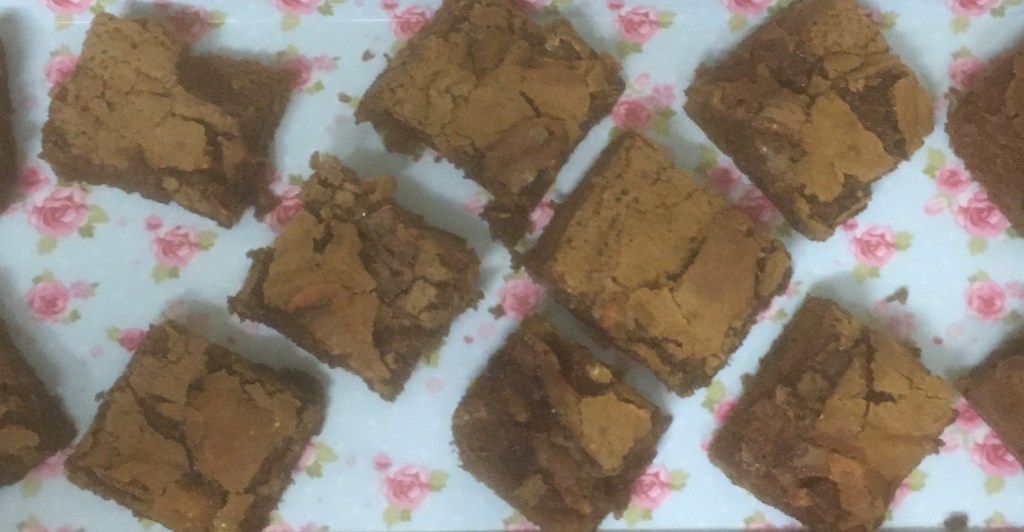
Carefully pour brownie mixture into lined tin and sprinkle chopped chocolate on top.
Bake between 25 and 30 minutes, you want a nice cracked surface and the brownie to be just set. Remove from oven and allow to cool in the tray. I tried taking mine out of the tray before it was cooled and it cracked right down the middle.
In the spirit of children in need we have made Pudsey cupcakes.
Next time I must remember to get black icing, Pudsey has a black eye, nose, mouth and eyebrow!
Cupcake Ingredients
Dairy free butter (we use vitalite)
Caster sugar
Vanilla essence
Eggs (chose how many you want, I used three eggs for 24 cupcakes)
Gluten free self-raising flour
Method
Weigh your eggs and weigh everything else the same (e.g eggs weigh 183g, use 183g of butter sugar and flour.
Cream together the sugar and the butter together and add the vanilla essence.
Add 1 egg with a spoonful of sieved flour and mix ( I do a figure of 8, to get as much air in as possible. Keep adding the eggs with one spoonful of flour (this is to stop the eggs curdling as they seem more susceptible using dairy free butter. When all of the eggs are added, sieve in the rest of the flour.
Divide into cupcake cases and bake in the oven on 180C for 15 minutes.
Decoration Ingredients
Ready to roll yellow icing
Writing icing
Unicorn confetti (Dr.Oetker)
Icing sugar
Water
These are the ingredients I used to make Pudsey (I separated the spots out of the Unicorn confetti), but you can decorate them however you like, just be aware that some cake decorations contain wheat!!